Notiz
Lab 4: Extracting Metadata from Documents

Scenario:
Our suspect seems very careful with leaving traces behind, especially when it comes to tracking him down and identifying locations visited. In this lab, we will use the evidence found on his USB, which we found recently in one of the motels he was staying in. We will focus this time on extracting and analyzing EXIF data instead of file headers like we did in previous labs. We will also see how useful EXIF data is when analyzing files and especially photos. Analyzing EXIF data is extremely important especially in our case since we want to track down our suspect. EXIF data analysis is not useful just for tracking, but if you have a child abuse/pornography case or any other case that involves digital photos.
Tasks:
Task 1: Discover File Types using Exiftool:
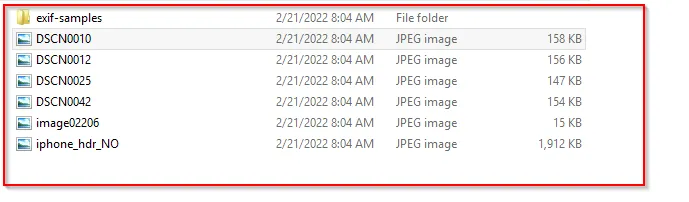
In this task, you are required to do a preliminary analysis of the files we found on the suspect’s USB drive [you can find the suspect’s files at C:\DFP\Labs\Module3\Lab4]. We want to discover the file type for each of the files you found. Use exiftool (regardless of platform) to accomplish the task.
Solution:
We have a list of files and need to explore the type of file within the given sample. → 2D3Fa2a We now here explore the file with exiftool(-k).exe. Just open the file with this tool and command line info will prompt out:
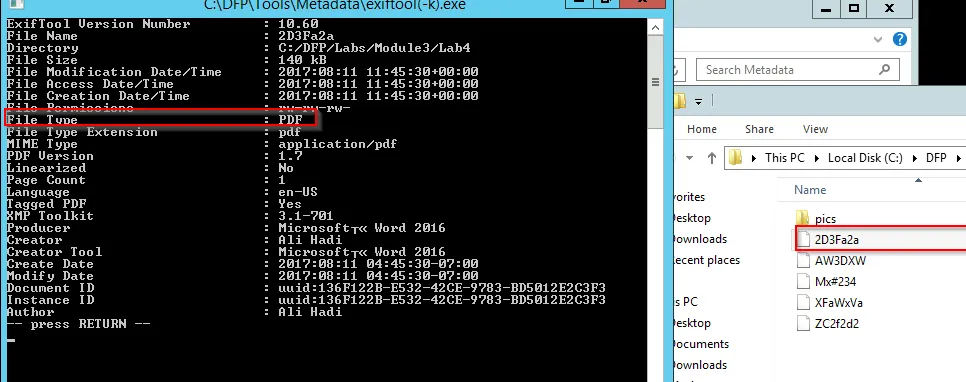
PDF file. Similarly, we can explore other files too.
→ AW3DXW
- JPEG file.
→ MX#234
- PPT file
→ XFaWxVa
- PDF file
→ ZC2f2d2
- XLSX file
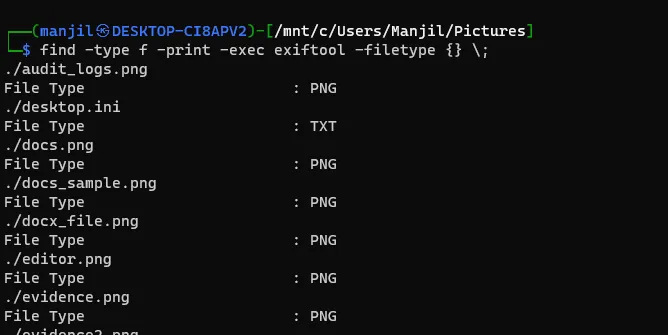
If we have a linux OS, it can directly done within a cmd using “exiftool” as:
find -type f -print -exec exiftool -filetype {} \;
Task 2: Analyzing File’s EXIF Data
Our next step in analyzing the evidence will be to extract EXIF data out of the files found and identify mainly each of the properties below:
- Tool Version
- File Size
- File Creation Date
- File Type
- Producer
- Creator and Author
- Product
Add anything else you believe is necessary.
Solution:
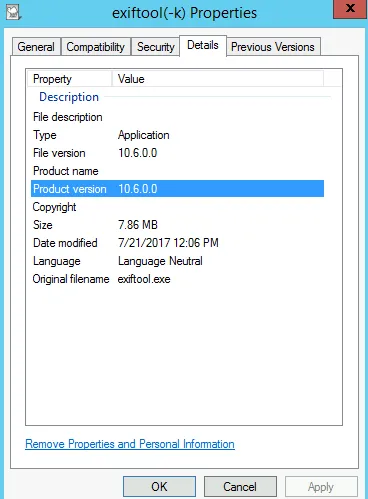
→ Tool Version:
The details tab for the tool can be viewed to determine its version:
Further, all properties of file size, creation date, file type etc can be extracted using the exiftool.
-
2D3Fa2a
→ File Size: 140KB
→ File Creation Date: 2017:08:11 04:45:30-07:00
→ File Type: PDF
→ Producer: Microsoft « Word 2016
→ Creator and Author: Ali Hadi
→ Product: Microsoft@2016
-
AW3DXW
→ File Size: 859KB
→ File Creation Date: 2009:07:14 05:32:32+00:00
→ File Type: JPEG
→ Creator : Corbis
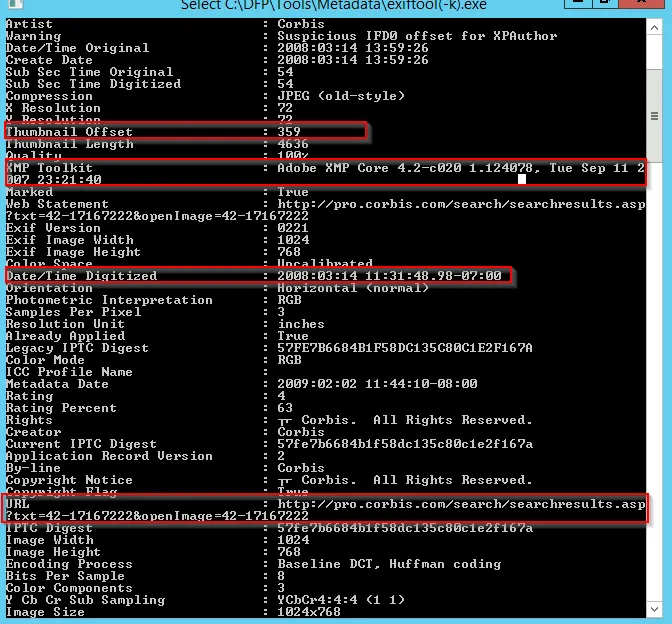
Further there are some of the useful information within the file:
→ Thumbnail Offset tag is extremely useful as it could be used to check whether the original image was modified or not. So , we can extract it and compare it with the original image.
→ XMP Toolkit tag describes the toolkit used which here is Adobe XMP Core.
→ Date/Time Digitized tag describes when this image was stored in digital format.
-
MX#234
→ File Size: 381KB
→ File Creation Date: 2017:08:11 12:34:58+00:00
→ File Type: PPT
→ Producer: Microsoft « Word 2016
Further important information:
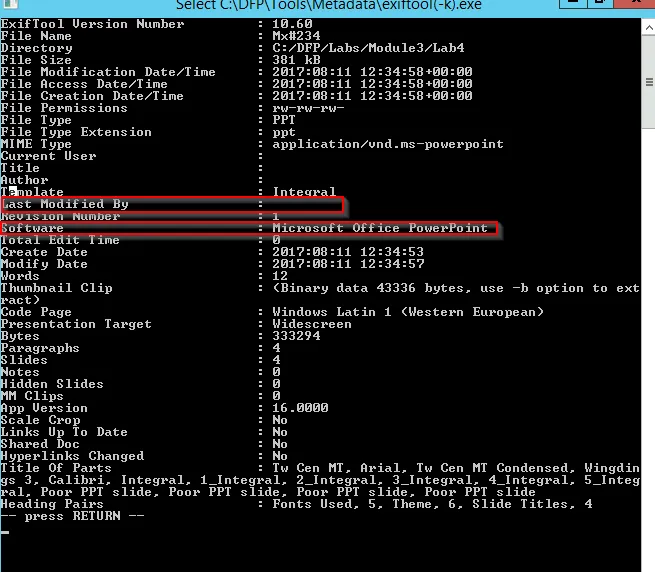
→ The software used to create this file is Microsoft Office PowerPoint
→ It seems the file was modified by the Author him/herself
-
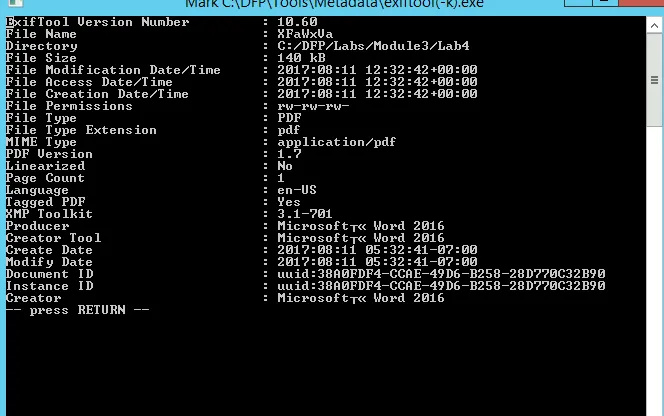
XFaWxVa
→ File Size: 140KB
→ File Creation Date: 2017:08:11 12:32:42+00:00
→ File Type: PDF
→ Producer: Microsoft « Word 2016
→ Product: Microsoft@2016
Further useful information:
-
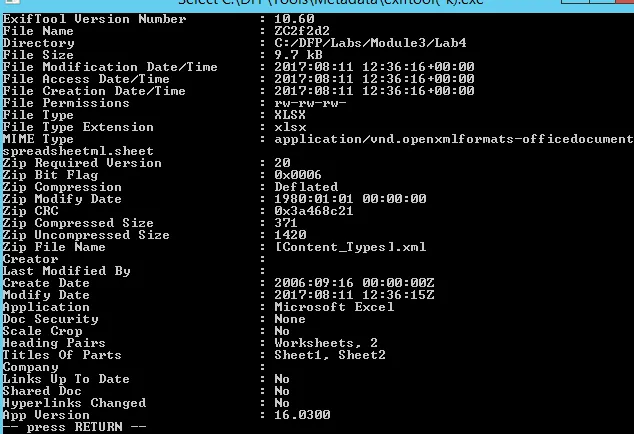
ZC2f2d2
→ File Size: 9.7 KB
→ File Creation Date: 2017:08:11 12:36:16+00:00
→ File Type: XLSX
Further info:
Task 3: Extracting Photos EXIF Data and Discovering GPS Coordinates
Our next step is to try and track down the locations the suspect has visited and try to discover if there is a connection between each of them (CSI stuff). So, in this task, you are required to analyze EXIF data found in evidence photos [located at C:\DFP\Labs\Module3\Lab4\pics] and answer the following questions:
- What manufacturer does the camera belong to?
- What is the camera model?
- Was the flash used to take the photo or not?
- If the camera was from a cellular phone, was it the rear or the front camera that was used?
- What are the GPS coordinates of the camera at the time the photo was taken if any was found?
- When was the photo taken?
- What are the photo resolutions and was a thumbnail generated or not?
Add anything else you believe is necessary for the investigation.
Solution:
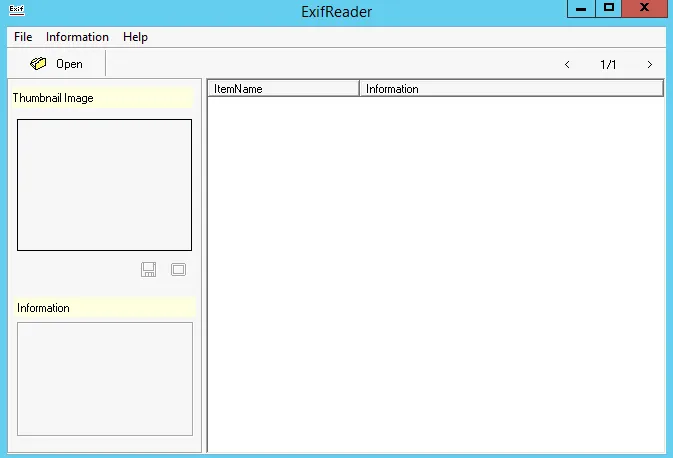
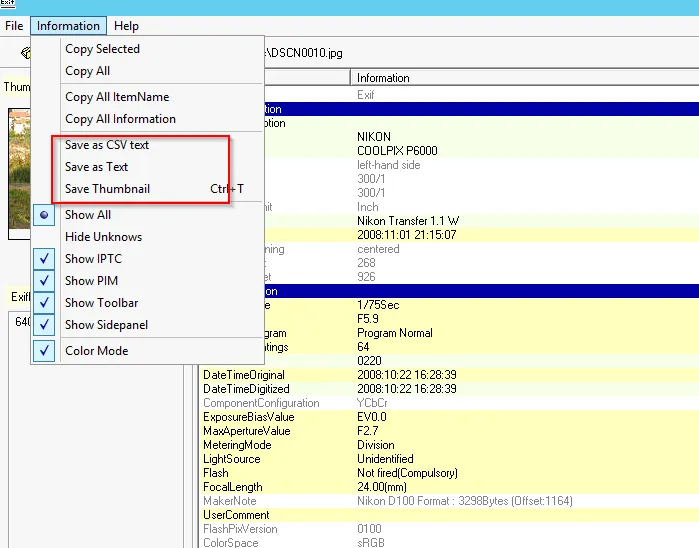
First, we need to focus on what tool to be used while analyzing any forensics evidence. Only the proper tool will lead to accurate result. So, to investigate photos EXIF data we will use ExifReader tool, which is found in our lab.
We have a lot of pictures to analyze:
-
DSCN0010:
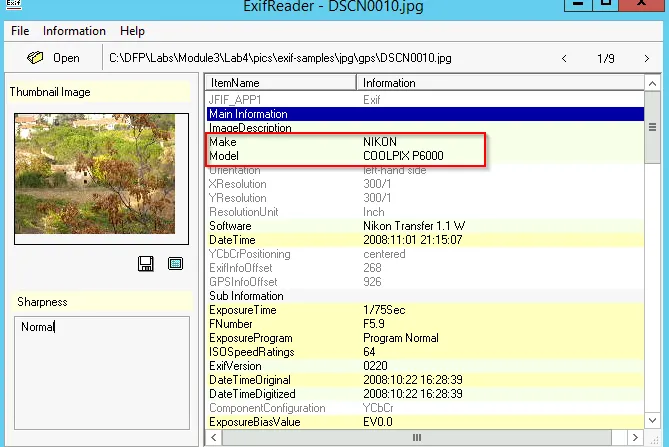
→ Manufacturer → NIKON
→ Camera Model → COOLPIX P6000
→ Flash taken to capture photo → No
→ The camera was not from mobile phone
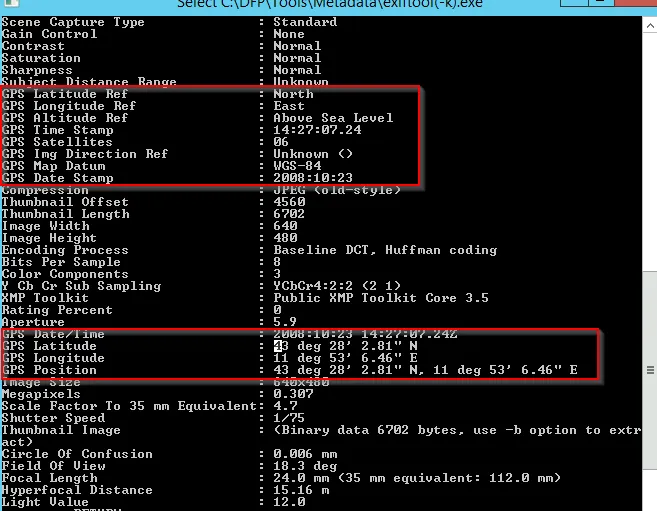
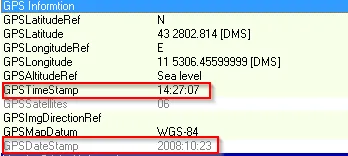
→ GPS Coordinates → GPSLatitude: 43 2802.814 [DMS] GPSLongitude: 11 5306.45599999 [DMS]
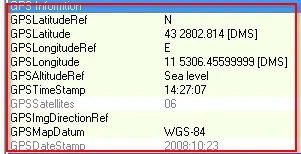
Not clear?? We can view from exiftool as:
When we look through a google map:
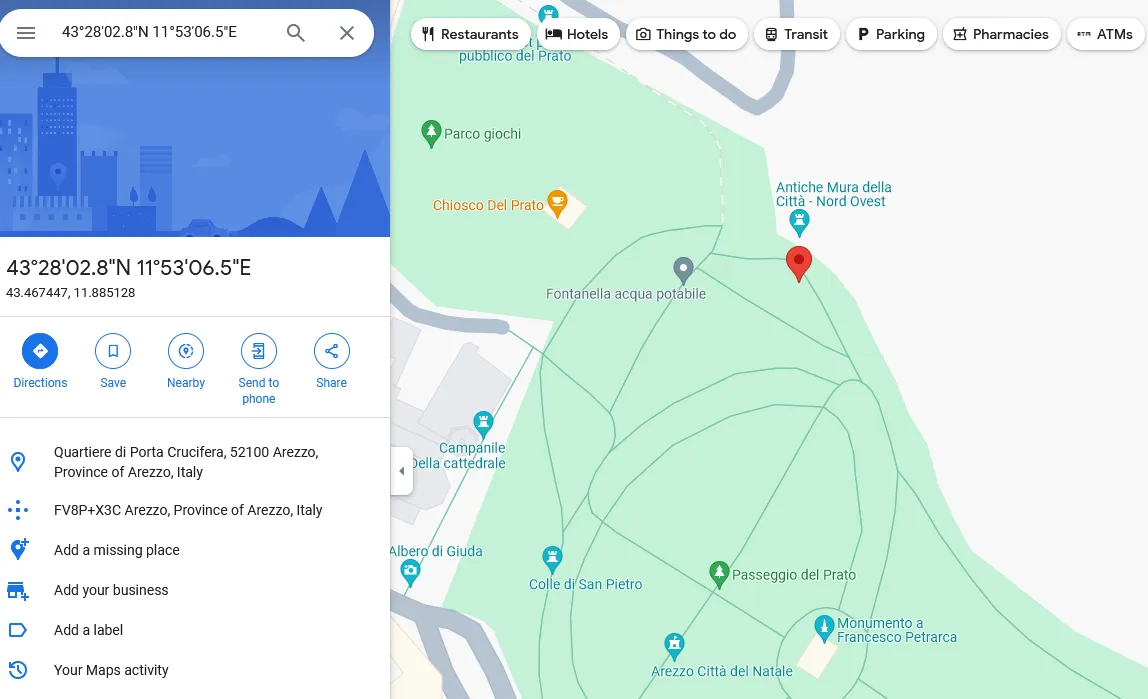
Photo taken at → 2008:10:23 14:27:07 [Can be viewed in GPS info]
The resolution of image is → 640x480 and yes thumbnail is generated along with this email.
Further you can image and analyze the file.
-
DSCN0012
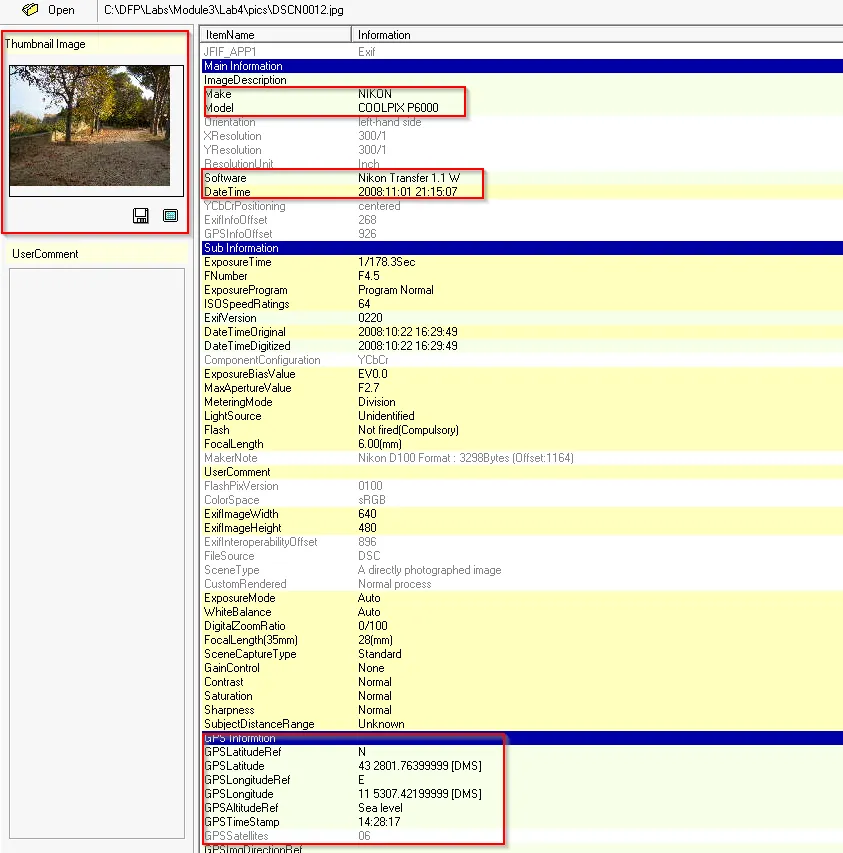
→ Manufacturer of the camera → NIKON
→ Camera Model → COOLPIX P6000
→ Flash light → Not Fired
→ The image was never clicked from mobile phone
→ GPS Co-ordinate → 43deg 28’ 1.76”N, 11deg 53’ 7.42”E
→ Photo taken → 2008:10:23 14:28:17 [Look through GPS information]
→ The resolution of image → 640x480
-
DSCN0025.jpg
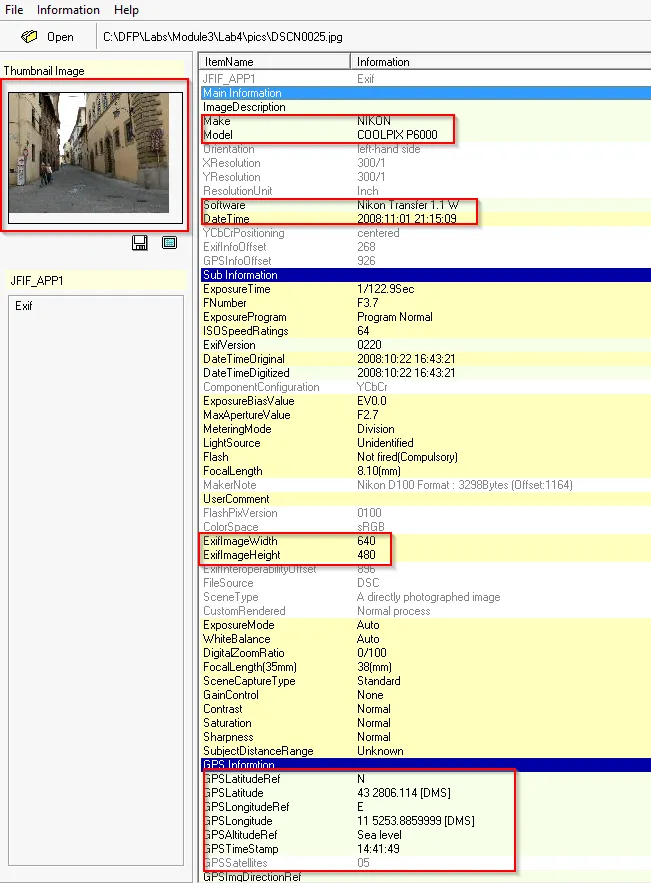
→ Manufacturer of the camera → NIKON
→ Camera Model → COOLPIX P6000
→ Flash light → Not Fired
→ The image is directly photographed using camera without using mobile
→ GPS co-ordinate → 43 deg 28’ 6.11” N, 11 deg 52’ 53.89” E
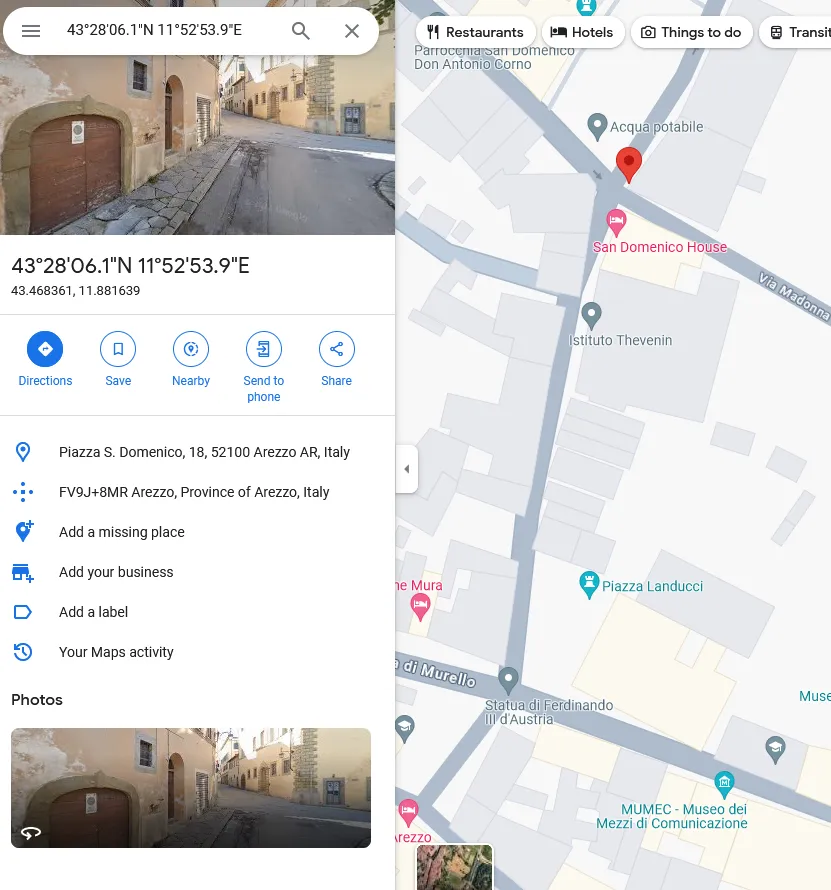
→ Photo Taken at → 2008:10:23 14:41:49 and there is a thumbnail embedded within this photo.
→ The resolution of the image → 640x480
-
DSCN0042
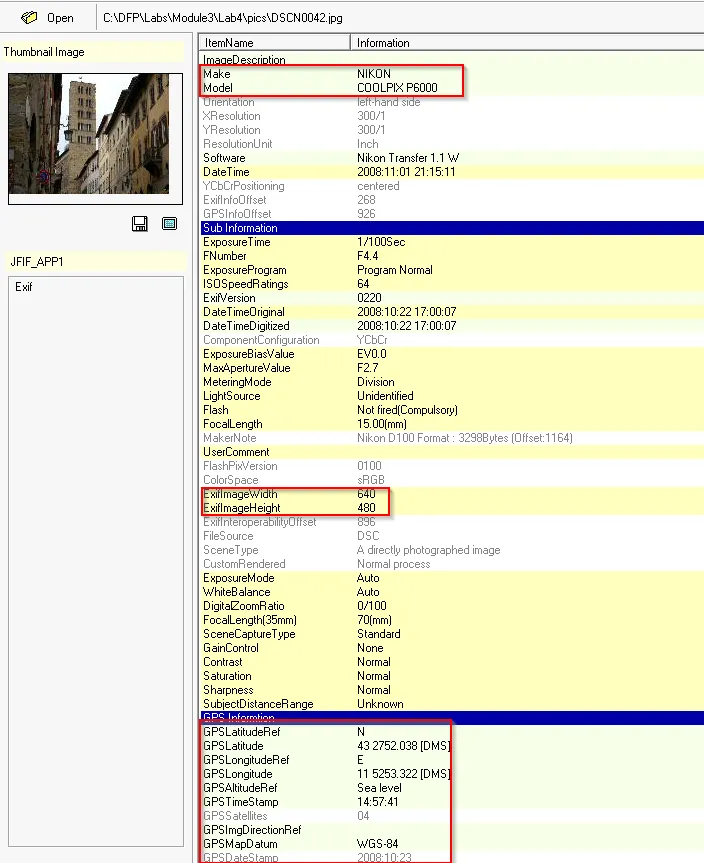
→ Manufacturer of the camera → NIKON
→ Camera Model → COOLPIX P6000 → Flash light → Not Fired
→ The image was never clicked from mobile phone
→ GPS Co-ordinate → 43deg 27’ 52.04”N, 11deg 52’ 53.32”E
→ Photo taken → 2008:10:23 14:57:41 [Look through GPS information]
→ The resolution of image → 640x480
-
image02006
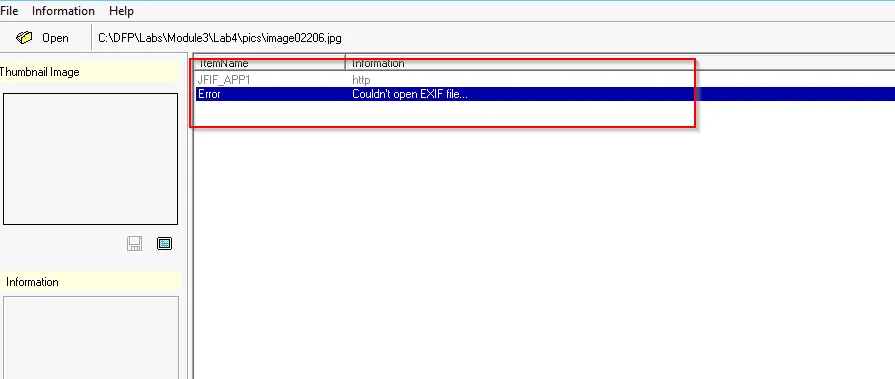
The EXIF reader tool throws the error while looking at the jpeg image file. As we know that we can’t totally depend upon only one tool. Let’s explore using exiftool.
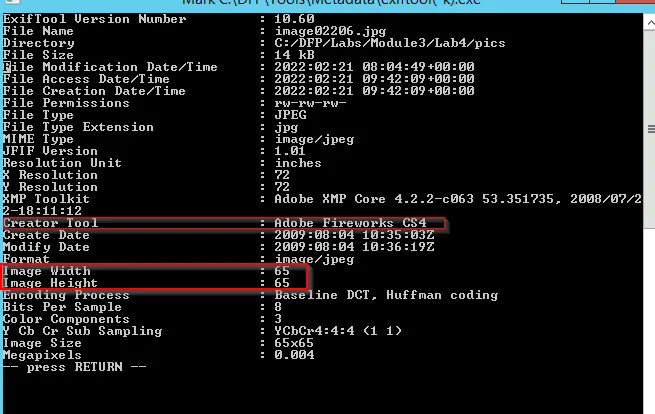
The image has been created using Adobe Fireworks CS4 {Adobe Fireworks is a discontinued graphics editor, and as of 2021 Adobe has officially discontinued support and development for the software}
→ Photo taken → 2009:08:04 10:35:03
→ The resolution of image → 65x65
→ Creator Tool → Adobe Fireworks CS4
-
iphone_hdr_NO
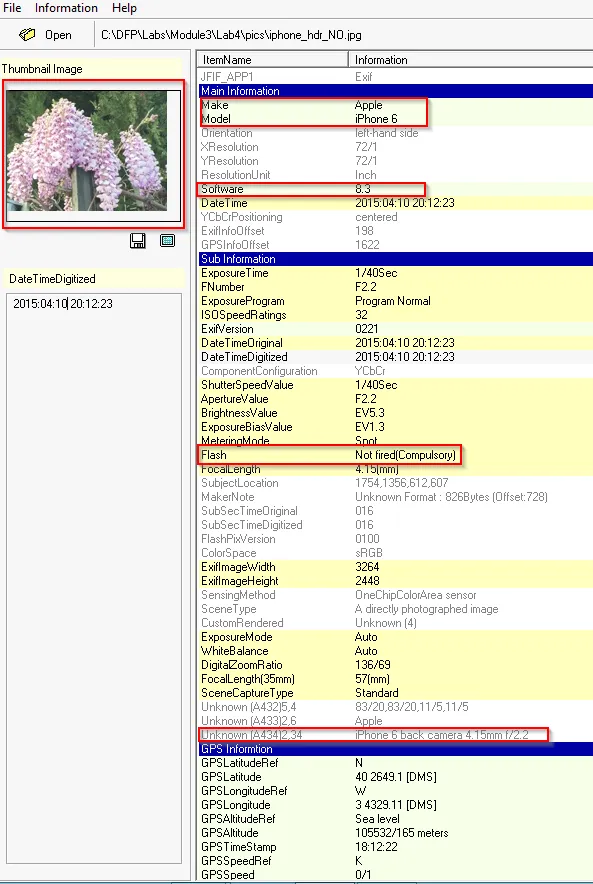
→ Manufacturer of the camera → Apple
→ Camera Model → iPhone 6
→ Software → 8.3
→ Flash light → Not Fired
→ The image was clicked from iPhone with back camera 4.15
→ GPS Co-ordinate → 40deg 26’ 49.10” N, 3 deg 43’ 29.11”W
→ Photo taken → 2015:04:10 20:12:23.016
→ The resolution of image → 3264x2448
Task 4: Generating a Data Sheet Report of Extracted Data
When the extraction of the EXIF data and their analysis are done, it is now time to add all this information into a single data sheet that will accompany your final investigation report.
Solution:
To generate the report for each image we can easily do it using ExifReader Save Button.

Further we can create a file for all the images using exiftool command as:
exiftool(k).exe -a -u -g1 -w %f.txt *.jpg
-a → (- -duplicates) Allow duplicates tags to be extracted
-g → (-groupHeadings) Organize output by tag group
-w → (-textOut) Write output text file for each tag
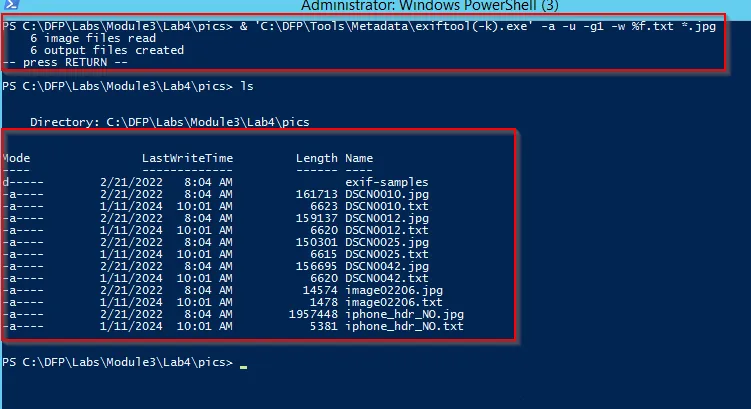
Using a single command all the text file for the given sample is created.
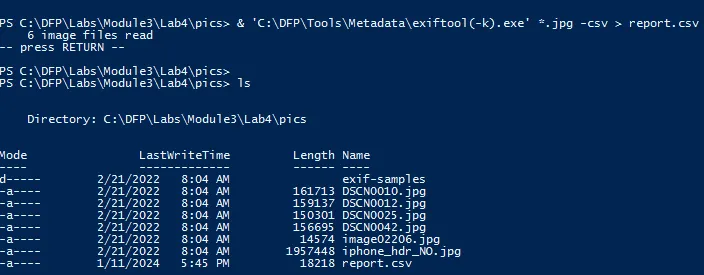
Further we can make a CSV file which contain all the information about the file, and can be done as:
exiftool(-k).exe *.jpg -csv > report.csv
-csv → Export information in CSV format